


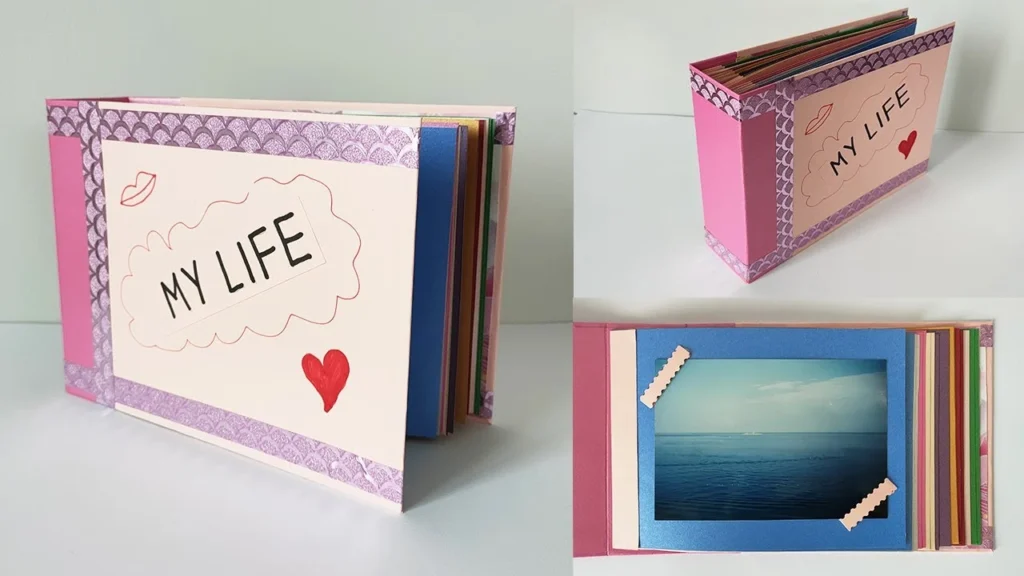
In a world where digital photos dominate, there’s something truly special about flipping through the pages of a handmade photo album, reliving moments captured in tangible form. Creating a personalized photo album allows you to showcase your creativity, preserve memories, and gift a meaningful keepsake to your loved ones. In this comprehensive guide, we’ll take you through the step-by-step process of crafting a stunning handmade photo album that will become a cherished heirloom for years to come.
Introduction to Handmade Photo Albums
Handmade photo albums provide a more meaningful way to preserve your memories compared to digital storage alone. The tactile experience of turning physical pages and reliving moments through photos you can hold in your hands is irreplaceable.
Crafting a photo album yourself has many rewards:
- You can create a custom design that reflects your personality and memories.
- The process allows you to be creative and express your style.
- DIY albums make heartfelt, personalized gifts for family and friends.
- You’ll value an album more knowing the time and care you put into making it.
With proper materials and planning, you can design stunning, professional-looking albums worth treasuring forever.
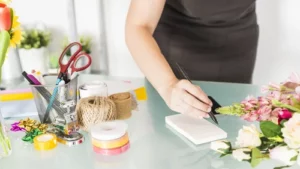
Gather Quality Supplies for Your Photo Album
Great albums start with quality supplies. Be sure to source:
Album Base: Choose a post-bound or screw-post book for easy assembly. Opt for thick, durable pages. Leather or cloth covers make great binding options.
Paper: Select thick paper and cardstock to prevent sagging. Acid-free and archival products prevent deterioration.
Tools: Gather essentials like decorative scissors, corner rounders, adhesives, pens, and rulers.
Protective Elements: Add sheet protectors, photo sleeves, or laminating film to preserve photos.
Embellishments: Washi tape, stickers, ribbons, and more allow you to decorate pages.
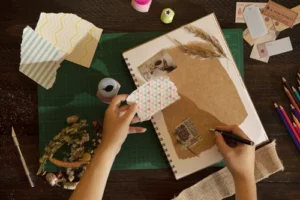
Design a Meaningful Layout for Your Album
Once you have supplies, it’s time for the fun part – designing! Follow these tips:
Map Out Sections: Organize photos and keepsakes by time period, event type, or color story. Sections help shape the narrative.
Incorporate Themes: Use repetitive colors, textures, icons, etc. to create cohesive themes across pages.
Vary Sizes and Shapes: Utilize different photo and paper sizes for visual interest. Angles, layers and asymmetry make pages dynamic.
Journal Memories: Include handwritten stories, descriptions, dates and names to document memories alongside photos.
Make Connections: Allow visual links from page to page through color schemes, motifs, and layouts.
Embellish Your Album with Creative Touches
Embellishments take your album from simple to spectacular. Ideas include:
- Add hand-lettered titles and photo captions.
- Layer on die-cuts, stickers, or washi tape.
- Affix tags with journaling using string, twine or ribbon.
- Create mini fold-out albums for more photos.
- Make pockets from cardstock to hold memorabilia.
- Incorporate pressed flowers, ticket stubs, maps, etc.
- Craft mini envelopes for written letters and notes.
Bind Pages Securely to Assemble Your Album
Binding your album properly ensures it will last. Here’s how:
Arrange pages: Lay out pages in order before binding to perfect the sequence.
Align edges: Use paper trimmer to cut pages to uniform sizes for easier gluing.
Choose strong adhesive: Opt for bookbinding glue or double-sided tape to firmly adhere pages.
Bind small sections at a time: Divide pages into small batches for the most control when assembling.
Work on a flat surface: Binding on a level table or desk prevents slipping and wrinkling.
Smooth each glued area: Press down firmly along the spine to reinforce the strong bond.
Let dry completely: Allow at least 24 hours drying time before continuing to add batches.
Personalize Your Album Cover and Pages
Final touches make your album extra special. Get creative with:
- Unique covers using fabric, scrapbook paper, photographs, beads, buttons, etc.
- Monogram or name embossing for a personalized cover
- Textured paints and inks to accent pages
- Metallic pens or foil stamping for shine
- Meaningful charms dangled from ribbons
- Custom liner sheets with family trees or timelines
Protect and Share Your Handmade Photo Album
You’ve crafted a priceless memory book – now protect it!
- Store in cool, dry location away from direct sun.
- Consider adding a protective acetate cover.
- Handle gently to avoid rips, creases, and popped stitches.
- Display on coffee table or shelves for all to enjoy.
- Make high quality scanned copies to gift family members.
- Pass down for generations as an heirloom.
Conclusion
Handmade photo albums allow you to thoughtfully preserve treasured memories in a cherished form you’ll revisit for years. With attention to supplies, design, and personalization, you can craft an album that showcases your memories as works of art. The entire process enables you to deepen connections as you reflect on special moments while creating a timeless family keepsake.
At SmartEx Blogging, we’re passionate about empowering your creativity and helping you bring your DIY ideas to life. Dive into the art of crafting a handmade photo album with us and discover the rewarding experience of turning precious memories into treasured works of art. Join our community of creative enthusiasts today